Saturday, June 15, 2013

A Tale of Two Shirts - White Collar to Purple Passion

This is a tale of two shirts.  
Boring, unwanted, discard, stuffy, white collar button up mens shirts.
Given to me by the big guy upstairs.
No, not God ... but close, my neighbor, Kevin.
(Thank you, Kevin!)
:)

 Which were magically transformed into something fantastic!
Fun, full of life, filled with purple passion.
Here is their metamorphosis.


And this is how it all came together.

I started with some little sketches trying to work out what design I wanted to go with.  Most of this was dictated by the actual shirts.  I decided I liked the first design sketch the best and it would be the easiest as far as the sleeves go, since the shirts were rather large on me.


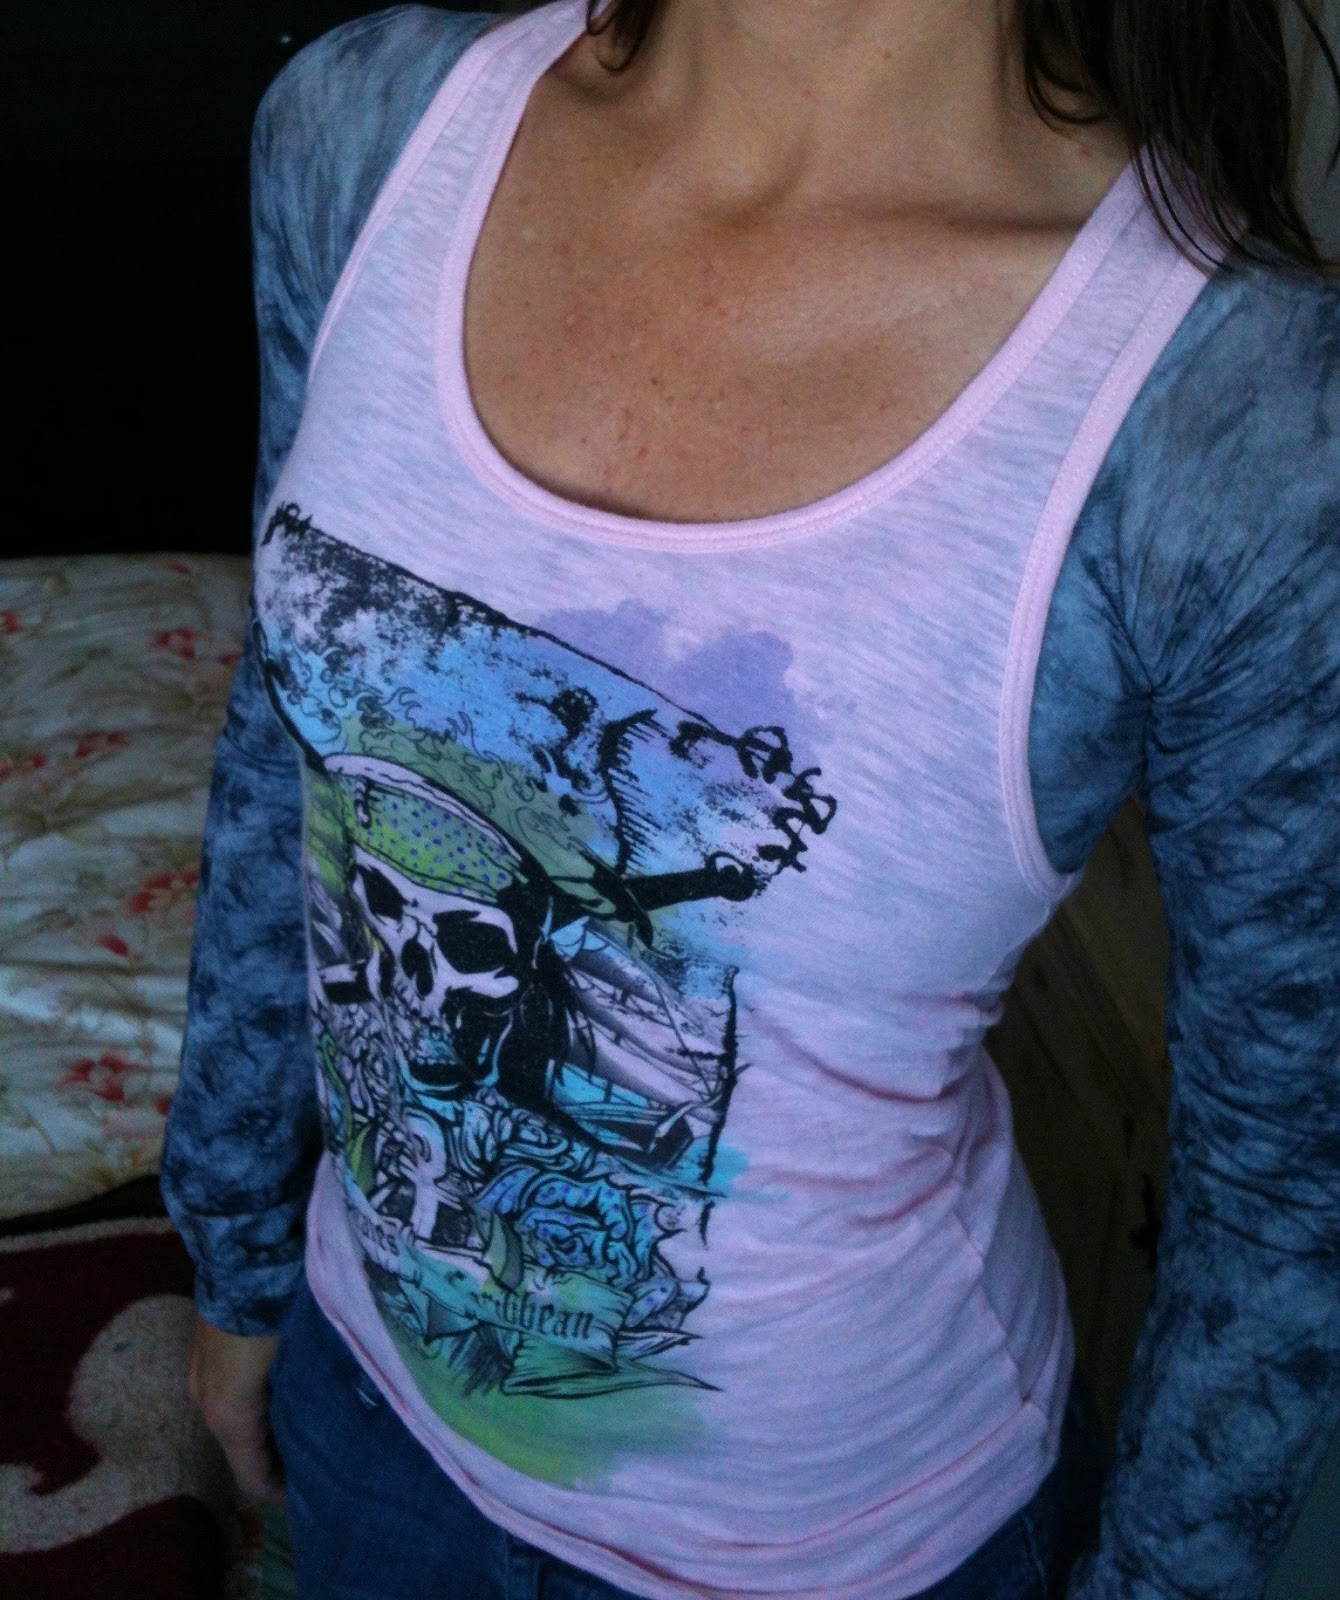
Here is a (terrible/blurry) before shot of one of the shirts on.


I used McCall's pattern M4769 to help me shape the bodice and place the darts.  I love this pattern.  I've made two dresses with it in two different styles and plan on making many more!


First, I picked a shirt for the top.  They were two totally different fabrics.  One was more light weight and thin, where the other was a heavy cotton/poly mix.  I went with the light weight shirt for the bodice and the heavy shirt for the skirt.

I started by seam ripping the sleeves and pockets off of both shirts.  


Then I took the bodice front pattern piece and placed it on the shirt (inside out).  I lined up the shoulder seam and center as best as possible and just traced the darts on and the side seam with a pencil.


I did the same thing for the back side.


Before I sewed it I placed it on my girl to check for fit on the side seams.   I also started to form the skirt, which I just did freehand on my girl.  

For the skirt, I cut off the collar below the yoke and then pinned it to my girl.


I accidentally did this with the skirt right side out - oops!  Luckily I fit it really loose at first, so it wasn't too hard to flip it and sew it.  You can see how I just used the pins and the dress form to create the shape of the skirt.


I sewed in the darts on the bodice, sewed together the side seams, and sewed the skirt side seams.  
I also just folded in the arm hole seams from where I had seam ripped them off and left them just as is for a little wing sleeve look.


I matched the side seams and when I felt like I had a perfect fit I sewed the bodice to the skirt.
Looking good so far!


I pressed it all out and then tried it on.

It fits!  YAY!


Now it's dye time!

I seam ripped all the buttons off the shirt first before I dyed and used safety pins on the top and bottom to keep the dress lined up evenly.

I was going for a dark to light blue look and my plan was to give it an overall light blue color and have it gradually get darker towards the bottom for the whole ombre look that is popular.  I went with navy blue.


In retrospect, I probably should have gone with royal blue.
I didn't do a very good job documenting the dye process.  Of course, if I am going to tie dye, I'm going to look through all of our clothing and find anything else I can throw in there, just because.  I covered some stains on a white tank top and tie dyed a white shirt for each kid (who both now need new white shirts) ;).


Basically, what I did was lay an old towel in my tub.  Put a big rubbermaid container in there and filled it with hot water and salt.  First, I poured only a little less than half of the die into the bucket and I completely dipped the entire dress (wear gloves!!!).  I let it sit for only a few minutes and then I pulled it out.  I pulled down my shower curtain and used the rod to help me with the rest of the dye process.  I lowered the bar enough so the dress could hang into the bucket at the level where I wanted the next line of darker color to be.  I added a little more dye (about 2/3rds of the bottle is in the water at this point) and I let it hang there for 20-30 minutes.  Then I raised the bar up and left only a small portion of the dress in the bucket and added the rest of the dye to make an even darker line across the lower part of the dress.  I left the dress in the dye for another 20-30 minutes or so.


Not sure why, but the dress came out purple instead of blue.  It's still very pretty.  I'm not much of a purple person, but I really love how this came out in the end.

I was so worried about the dye spreading in the wash.  I didn't really rinse the dress out completely, like I did with the other shirts and as it recommends on the bottle.  I was worried the color would spread and ruin the ombre effect.  I rinsed it a little, and mostly toward the bottom, but it definitely dried with a lot of extra dye still stuck in it. 

I searched around for some tutorials on how to set dye and found this great link on ehow and followed it.  It seemed to work really well.  In the past, whenever I tie dyed something and then washed it, any area of white would always be tinted whatever color I dyed with.  The white shirts I dyed came out of the wash looking exactly the same, all white spots still white.  I will definitely be setting all of my dyed apparel this way.


So here is the end result!  I added some beautiful vintage buttons I was given.  I made the little belt a while ago with some cool vintage fabric.


You can sort of see how the two fabrics are different materials in this picture below.


Bodice


Bodice back


Side view - I gave the skirt a little vent on the side.

Back - After washing the ombre effect became much more subtle, which I like.


Skirt back.


And finally, on me!


I am very stoked on how this came out!
  I really love taking something old and making it new.
  Very rewarding.
  It has such a nice soft feel to it.  Perfect for spring and summer.  
I can't wait to get started on my next refashion.
I got passion for refashion!


Wednesday, June 12, 2013

When In Doubt, Wear Red

 Every girl needs a good red dress.  

I stumbled upon this red and gold vintage fabric that was in my stash recently and I had to make something cute with it.  


I have been waiting to get this Cynthia Rowley pattern forever!  It finally went on sale for $3, so I picked it up.  I didn't have enough fabric to make the full, pleated skirt, but I love the bodice, so I improvised.


I used bodice "C" from the Cynthia Rowley pattern and used the skirt pattern from the New Look pattern below.  Since it only requires gathering, rather than pleats it doesn't require as much fabric.


I love both patterns and I really want to make a complete dress from the Cynthia Rowley pattern above.  With the skirt pleating it has such a cute retro look.  I'm glad I had this test run, though.  I think I cut for size 8 and it totally did not leave me enough room at the waist to bring the ends together in the back. 

Here it is on:


 I had to alter the back with additional fabric scraps to make it fit.  I was worried I had wasted my beautiful vintage fabric for a moment, but I was able to pull it off.  So proud of myself!  I think my favorite part about the dress is my mistake now because I was able to figure out how to salvage it.


Can you tell I added on in the center back around the zipper? 

I even made a cute matching wristlet.  I want to start making a matching wristlet with every dress I make.  I love it!


I like how it came out.  It love mixing patterns, too.  I think this will be a really versatile dress.  I can dress it up to be fancy or dress it down to casual.  

"When in doubt, wear red." ~Bill Blass

Wednesday, May 29, 2013

Beach Cover Up

Summer is just around the corner and I am so ready to enjoy some good beach time with the kids!

I bought some cool lyrcra swim fabric in Downtown LA last year with the intention of making a beach cover up for myself.  I finally found a good pattern and got my serger all figured out, so I pulled out all the supplies and got to work.

Here is the pattern I used.  $1.99.  Can't beat that.


Here is how it came out!!


I'm liking it!
  I took it for a test drive the other day and it wore well.

  The pattern was super easy.  My only issue with it is that they don't have you cut the skirt on the fold, so you end up with four panels instead of two.  I don't really like the seam down the center in the front or back.  If I would have planned and read ahead a bit I could have altered the pattern to make it just a two panel skirt.  D'oh!  Next time.  I think they must have done it that way to save on fabric.  I cut my dress much shorter because I barely had enough to make what I had, plus I wanted it short since it's meant for a cover up and not an actual dress.

Stoked!
I'm all ready for summer days by the sea or by the pool.
Bring it on!

Tuesday, April 30, 2013

Legging Refashion


This is a quick and weird refashion that requires no sewing.  

I learned this trick from one of my daughters dance teachers.  They wanted them to wear fish net stockings under their shirts for part of their costume for the recital.  She had us cut out the crotch and cut off the toes and slip the stockings on over their heads and under their shirt for a funky look.


I had these cool pair of tie dye leggings.  I love them, but I can't find anywhere in my wardrobe where they work and believe me, I have tried.  


I finally said screw it!  I'm cutting into them!
I cut out the crotch.  These were leggings, so I didn't even need to cut out the feet.


I thought it might be cute under a tank top.  It's been so cold here lately, but I really want to wear my tanks.  I slipped it on under a couple shirts ....


.... What do you think???

Is it too funky and far out??

Or just funky and far out enough to work?


Tuesday, April 23, 2013

Give Me a Break - Screen Printing with Modge Podge and Mishaps

I finally got around picking up some speedball paint so I could use my ghetto screen printing hoop and hand me down shirt.  I found the paint on sale at Michaels for $3.99.  I had a cool grey shirt at home and I new the orange would look cool on it.  I drew this design below a while back.  


To make your own ghetto screen, you just need a quilt hoop, sheer fabric, a pencil, mod podge, screen printing ink, and a ton of patience.  First trace your image onto the fabric in pencil.  Then paint glue around all the spaces where you do not want ink.  Leave the places you want the ink to print through free from glue.  Be sure not to paint the glue onto the screen when it is resting on something.  You have to rest the screen on blocks or hold it in your hand so the glue doesn't go through and stick to the surface underneath.

Once the screen is dry you can get ready to print the shirt.  I put a block of foam inside the shirt.  Set the hoop on top of the shirt where I wanted the design.  I just used an old credit card to swipe the ink across the screen several times, making sure to hold the screen down, so it doesn't smudge.

Here is how it came out.  The sheer fabric I used is really grainy and uneven, so it gives it a different effect.  I obviously missed a few spots with the glue.  I like the look regardless.


Here it is on:


There is some irony to this shirt .... I wore it while I was cleaning the house the other day.  I was cleaning the tub and when I came up from scrubbing there was orange ink all over my pants!  I freaked out thinking it was going to permanently stain my favorite pair of cords.  It washed off fine.  I started thinking maybe I didn't set the ink well enough with the iron (always a good idea to either flash dry it in the dryer once the ink is dry or iron it once it's dry to permanently set it in to the fabric).  I go look at the tube of paint to see what the instructions say and I see on the front that it is WATER SOLUBLE block ink.  D'oh!!!!  Totally didn't read that when I picked it up!  

Give me a break!

I was able to wash out the design from the shirt and the beauty of using the mod podge screen vs. the freezer paper style of ghetto screen printing is that I can just reuse the same hoop and screen, so all I need to do is by FABRIC screen printing ink, grab my shirt, block of foam, an old credit card, and I can recreate this shirt all over again.  This time permanently.  


Monday, April 22, 2013

Earth Day/Birthday Jean Refashion - Jeans to Bags

I love a good jean refashion.  It's by far my favorite thing to cut up and re-create.  My neighbor, Kevin, gave me a bunch of his old pairs.  His birthday was on Saturday and with all the Earth Day celebrations I knew the perfect thing to make for him.  Something practical he can use and something repurposed, both a gift for him and for the Earth.  What better way to celebrate both by recycling a pair of his jeans.

I forgot to take a before picture of the jeans, but you all know what jeans look like.  

Here are my materials already hacked up:


I decided I wanted to make him a little bag that he can use for his toiletries when he travels, storage, or whatever.  I found this great little tutorial.  Follow the link to learn how I went about making the pouch.


I added some fusible fleece to the back of the denim and for the lining I used a nice water resistant sport nylon fabric.  Here it is halfway through.


And here it is finished!  It's pretty cute!  I probably should have added a little tab for holding it below the zipper pull.  I added ribbon to the zipper later.


Unzipped :)


I also found another great tutorial on the same blog as the tutorial for the bag above.  It was for a drawstring pouch.  Oddly enough, I had just made Kevin a drawstring bag because he needed something for his headphones.  I wasn't really happy with how my design came out, so I figured I'd give it another shot and try using this tutorial as a guide instead.


My bag dimensions are a bit larger than the tutorials.  I had to use two panels instead of one continuous panel for the outside fabric.  I also lined it with fusible fleece, since it's for an expensive pair of headphones, I want it to be padded.  I also am adding a zipper pocket on the inside for headphone wire storage.


Here is my finished bag!


Zipper pocket and sport nylon water resistant lining.


Happy 40th Birthday Kevin.  You are a fantastic friend!


See what things you can repurpose or reuse before you toss it in the garbage can.  Everything you recycle, reuse, compost, or repurpose is a gift and a way to give back to the Earth.  We can make a difference in this disposable world we live in.  
Be creative, have fun, get inspired!  
Happy Earth Day Everyone!