Monday, February 10, 2014

#RockYourScar CHD Photo Contest

CHD.

I use to know nothing about what those three letters stood for, but now I know all to well.
This week, being Congenital Heart Defect Awareness Week, those of us who know all to well have one week where we get to speak out and share what those three letters mean to us.
Congenital Heart Defect.

CHD.

What they have come to mean to me is …

Courage.  Hope.  Destiny.

This week we get to celebrate the courage of these heart warriors.
We get to spread hope to those just meeting theirs.
We get to help shape the destiny of these special hearts by spreading awareness, to find a cure.


This is my special heart warrior. 
And she is rocking her CHD and her scar!
Mended Little Hearts, an amazing CHD organization, is having a #RockYourScar photo contest.
I would love it if you would vote for Aubrey!!!
You can vote for while you are logged onto Facebook here: http://bit.ly/1ggzY3a)

Of course, the crazy crafter wheels in my brain started turning as soon as I read about this photo contest.  I wanted to make her a shirt that would show off her scar, but not be provocative in anyway.  I also didn't want to buy anything new.  It was a perfect opportunity for a refashion.  I found this almost too small heart shirt that had a rip in the collar.  I thought it might be cool to just simply sew a zipper into the center where her scar is, so she could show it off in the picture. 

I put some interfacing on inside of the shirt, then cut down a slit for the zipper.  Pinned it all into place and top stitched over it.  I fixed the hole in the collar, too.


You saw the finished product in the picture at the top!
I hope we win!!!  
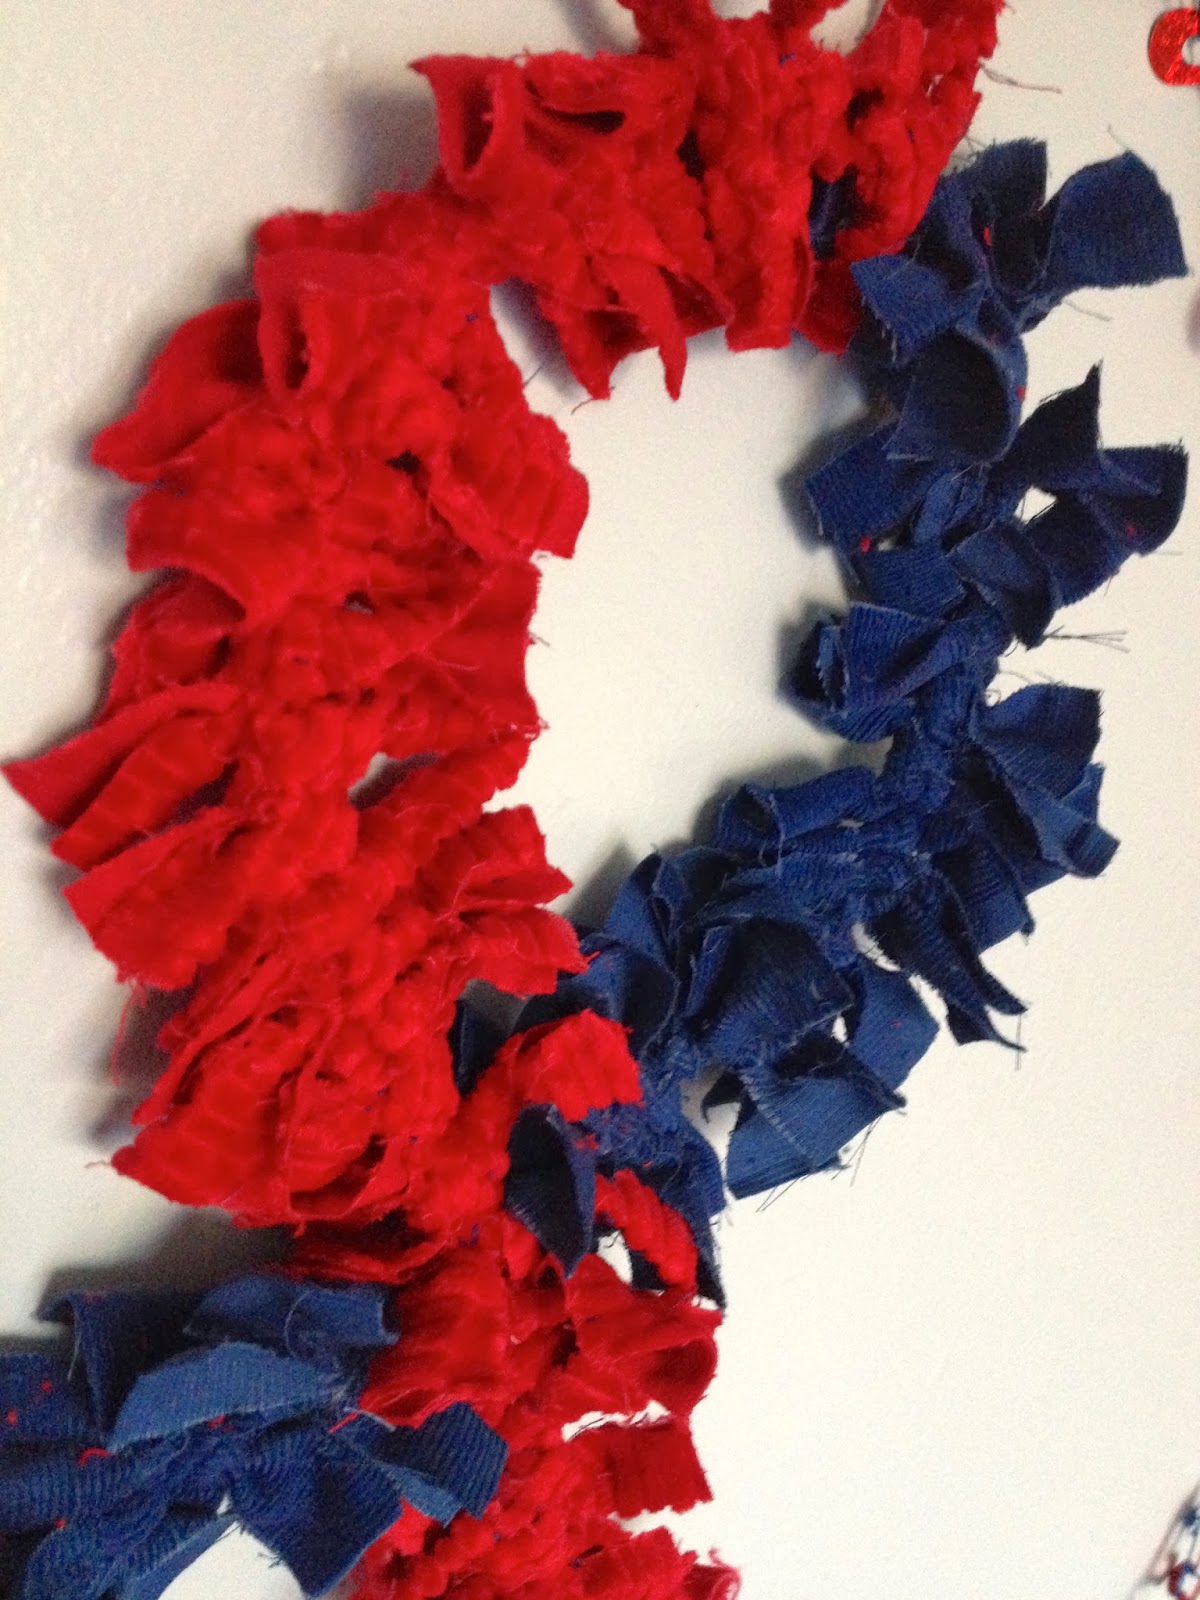
I, of course, couldn't stop at the shirt and had to make the CHD Awareness Ribbon, too.  
Now we can hang that year after year during this special week.

Thank you to those of you who have already voted and shared the contest on your page.
It's YOU GUYS who ROCK!!!
Rockin' my heart strings!!!


Thursday, February 6, 2014

CHD Awareness Ribbon

National Congenital Heart Defect (CHD) Awareness Week is February 7th-14th.  
As most of you know, this is a cause that is near and dear to my heart.
My daughter was born with two very serious CHD's called Tetralogy of the Fallot with Pulmonary Atresia.  She required heart surgery at birth in order to live.  At 7 months old they did a full repair, closing the hole in her heart and placing a pulmonary artery (or conduit) from another child in her heart.  She will require more heart surgeries throughout life to replace the artery as she grows out of them.  We have been so fortunate with many years of good health between surgeries.  There is so much hope for these children in the future.  50 years ago a child like Aubrey would have most likely died early on.  With continued research and medical advances, children like my daughter can live long, normal lives.  Although, not quite ready for prime time yet, micro robotic surgery is on the horizon for helping avoid opening the sternum for open heart repair.  Stem cell research has opened the doors toward a possible cure.  Organ donation continues to save lives like my daughters.  There is so much hope for children and adults living with CHD.  Raising awareness and educating people on what it means to live with CHD will enable us all to work together towards finding a cure.

I will be wearing my red and blue with pride this week!!


I felt inspired to make a ribbon of my own to decorate and show my pride and support for CHD to the world.  I plan to hang this on my door every year.  I have a secret motivation behind making this … which will be revealed shortly in another post.

Here is my giant CHD Awareness Ribbon:


I made this using bendable wire I found in the floral decor section at Michaels.  I formed the shape first, tied it together in the center with a small piece of wire to anchor it.  I cut 1 1/2"W x 5"L stripes of fabric and tied them in a single knot onto the wire.  I used corduroy red and blue fabric.


I love that it looks like several red and blue ribbons that make up one giant red and blue ribbon.

I can't wait to hang this on my door to show my support for CHD.
But first I must use it for one more thing ….
You'll just have to wait and see.

Save the Jeans!

I'm not sure exactly what my son does, but somehow every pair of jeans we own has a hole in the right knee. 
Every.
Single.
Pair.


Holes are cool and everything, but I like him to look like he hasn't been dragging himself around on the ground like an animal.

Plus, the kid is getting TALL!  He is still thin enough to fit in his size 7 jeans, but they are starting to look a bit like pedal pushers or capris.  He got a few new pairs of 8's at Christmas, but we can never have enough jeans for this kid.  He's a pants only kind of boy.  His own personal preference.

I decided to take a pair of the 7's and see if I could lengthen them and patch the hole in a way that still is cool enough to wear to school without ridicule.

First, I cut the jeans at the knees where the hole was, but on both legs.


Then I took a pair of old jeans from my stash (save ALL denim and take ANY and ALL donations -hint, hint).  The bottoms I used were an old pair of his size 6 jeans, I think.  You can use any pair of jeans, though.  They don't need to be the same size.  It was a little easier to do with existing jeans, because I could use one existing seam, if not both.  If you use an adult size pair of jeans, you just have to create your own seams on each side.  I'll explain more in more detail.


You want to keep all the pieces of the original pair of jeans you began working with in tack.  You are going to use the extra jean pieces to extend the length of the jeans at the knee.  I cut the top fraying part and bottom hem off the extra pieces of jeans.


Then I measured the circumference of the original pair of jeans at both cut ends.
I used the existing seam from the extra pair of jeans for this refashion.  
I sewed a seam down the other end of the extra pair of jeans to match the circumference of the original jeans, so I can piece them together.  The extra piece is going to go in at the knee.


Then you want to pin the extra piece (right sides together) to the original jeans at the knee.
Sew all the way around.
Repeat on the other side.
Pull the extra piece down (unfold), so you see the entire right side of the leg. 


Repeat the same steps, but this time adding the bottom piece of the original jean to the end of the extra piece you just sewed on.
Sew all the way around.
Repeat on other side.
Unfold.


Turn inside out and press.


I ended up loving the look so much I did it to all his jeans.  Even his size 8's that currently fit him.  

For the dark blue inserts you see, I used an adult size jean.  I didn't salvage any of the side seams.  
I just measured the circumference of the ends of the existing jeans, added a seam allowance, and created my own side seams without the fancy french seam.  

The boy loves them!! 

I think they look kinda funky fresh ;)


These were his size 8's, so now he has plenty of room to grow in them.


This is the pair I used in the demonstration.  
With more similar shades of blue denim and existing seams.
These were size 7's.


These were size 7's, too.


Bayne ended up with 3 "new" pairs of jeans.

I even was able to salvage a pair of Aubrey's jeans.  She's getting to the age where I can no longer find elastic waist jeans.  These are the last pair we have and I love them.  They are so comfy looking.  She had a big hole in her right knee, too, and they were getting a little short. 


I like it way better than the big right side knee hole look.
What are these kids doing at school, anyway???
Any guesses on how long until one of them comes home with a hole in their right knee?