Thursday, April 24, 2014

Special K Pillow

It was my neighbors birthday this past Sunday.  I wanted to make him a little something.  He's always so supportive of my craft.  He also gives me tons of shirts and pants (i.e. material) to work with.  I have made him a couple things in the past with jeans he has given me.  I figured I would work with a shirt of his this time.  This one was pretty well stained, so there wasn't too much I could do with it as far as wearable refashions go.


I had an idea for a way to make use of it.  This idea will also help me make use of this letter pattern I bought a while ago and still haven't used.
(So many good intentions, so little time!)


The fabric needed a little color and design, so I pulled out my new stamp and some orange speedball screen printing ink and set the shirt on some styrofoam to prepare it for stamping.


Stamping starfish is kinda fun!  I need a little stamping practice, though.  Luckily this project was perfect for practice.  Mistakes pass for an artsy look on a pillow ;).


Here it is all stamped, drying.


I heat set all the silk screening ink with a hot iron once the ink dried.


Looks like K was the lucky first letter to be used in the pack!


I lined it with some white fabric, so it wouldn't be see through.


And here is the finished pillow!  Perfect for his white couch in our beachy apartments.  I think he has an orange pillow on his couch, too.  I'm not sure, but something made me go for orange :).


I think he liked it!  
I have been dying to do these for the kids, too.  
One of these days!

Wednesday, April 23, 2014

CHD Awareness Zipper Heart Shirts

I finally finished a new batch of my CHD Awareness Zipper Heart Shirts.
WAY past Valentine's Day / CHD Awareness Day, when I sell most of these, but hey … I'm totally ready for next year!!!  These shirts are easily my best sellers.  I would love to get more of these out into the CHD community.  Every little special heart child deserves a cool zipper heart shirt. 

As most of you know, these shirts were inspired by my daughter, who was born with a very serious Congenital Heart Defect called Tetralogy of the Fallot with Pulmonary Atresia.  She has had 2 heart surgeries so far and faces more through out her lifetime.  She proudly wears her "zipper scar" from her surgeries on her chest.  I thought this was a fun way for her to wear it on her shirt as well, so everyone can see just what a brave little heart warrior she is.  Scars are cool.  They make you look tough ;).

Here are my awesome little people helping model the new inventory.  


We have my beautiful heart warrior modeling the royal blue, long sleeve, girls zipper heart shirt.


The zipper really works.


You can even stash stuff inside.  A great place to hold onto lunch money :).


And my big man modeling the boys, navy blue, short sleeve zipper heart shirt.


What's in your heart Mister?


I have several of these shirts for sale on my Etsy page in many different sizes.  I have some black, long sleeve for boys, and white short sleeve for girls, too.  If you don't see a size or color you like, feel free to send me a message and I can custom make one for you.
Visit My Sticky Genius Shop to order one or share it with someone you know who has a little one living with CHD.  

My daughter is 1 in 100.  
Spread Awareness of CHD to help find a cure.
Support stem cell research, it is our best hope for a cure.
Become a blood and organ donor.  Donating blood and/or organs saves lives like my daughter.
Thank you!!

Friday, April 18, 2014

Young at Art Disaster Skirt Turned Dress

Every year I volunteer my time in some way in both kids classes at school.  This year I signed up for all of Aubrey's science labs and all of Bayne's Young at Art classes.  

I know better than to wear anything nice when I go, but for some dumb reason I wore this skirt when I went to help out with Young at Art.  It isn't my favorite, favorite …. but I still love it and didn't want it to get ruined.  Why oh why did I wear it?
Yep, you guessed it.  
It got painted.
In fact an entire bottle of black acrylic paint exploded in my hands when I was trying to squeeze a little out.  Fortunately, most of the paint landed on my shins, but my skirt got hit, too.  I tried to get most of the paint out, but it was a hopeless battle.
Here is a look at the product and the damage.


It's not horribly noticeable in the picture, but the skirt is basically unwearable now.


Unless, of course, you are a Sticky Genius, like myself.  Then there is always SOMETHING to be done to save it.

I happened past this skirt on Pinterest and thought the layering was a possibility.  I could maybe cut around the paint stains was my thought.


I decided to go for it.
I folded the skirt in half, with the majority of the stains facing up, so I could cut them out.


I accidentally cut the skirt in the opposite direction of the skirt in the photo.  I don't know why, I just went auto pilot, I guess.


Possibly, it could have been better cut the other way, but it probably made no difference.

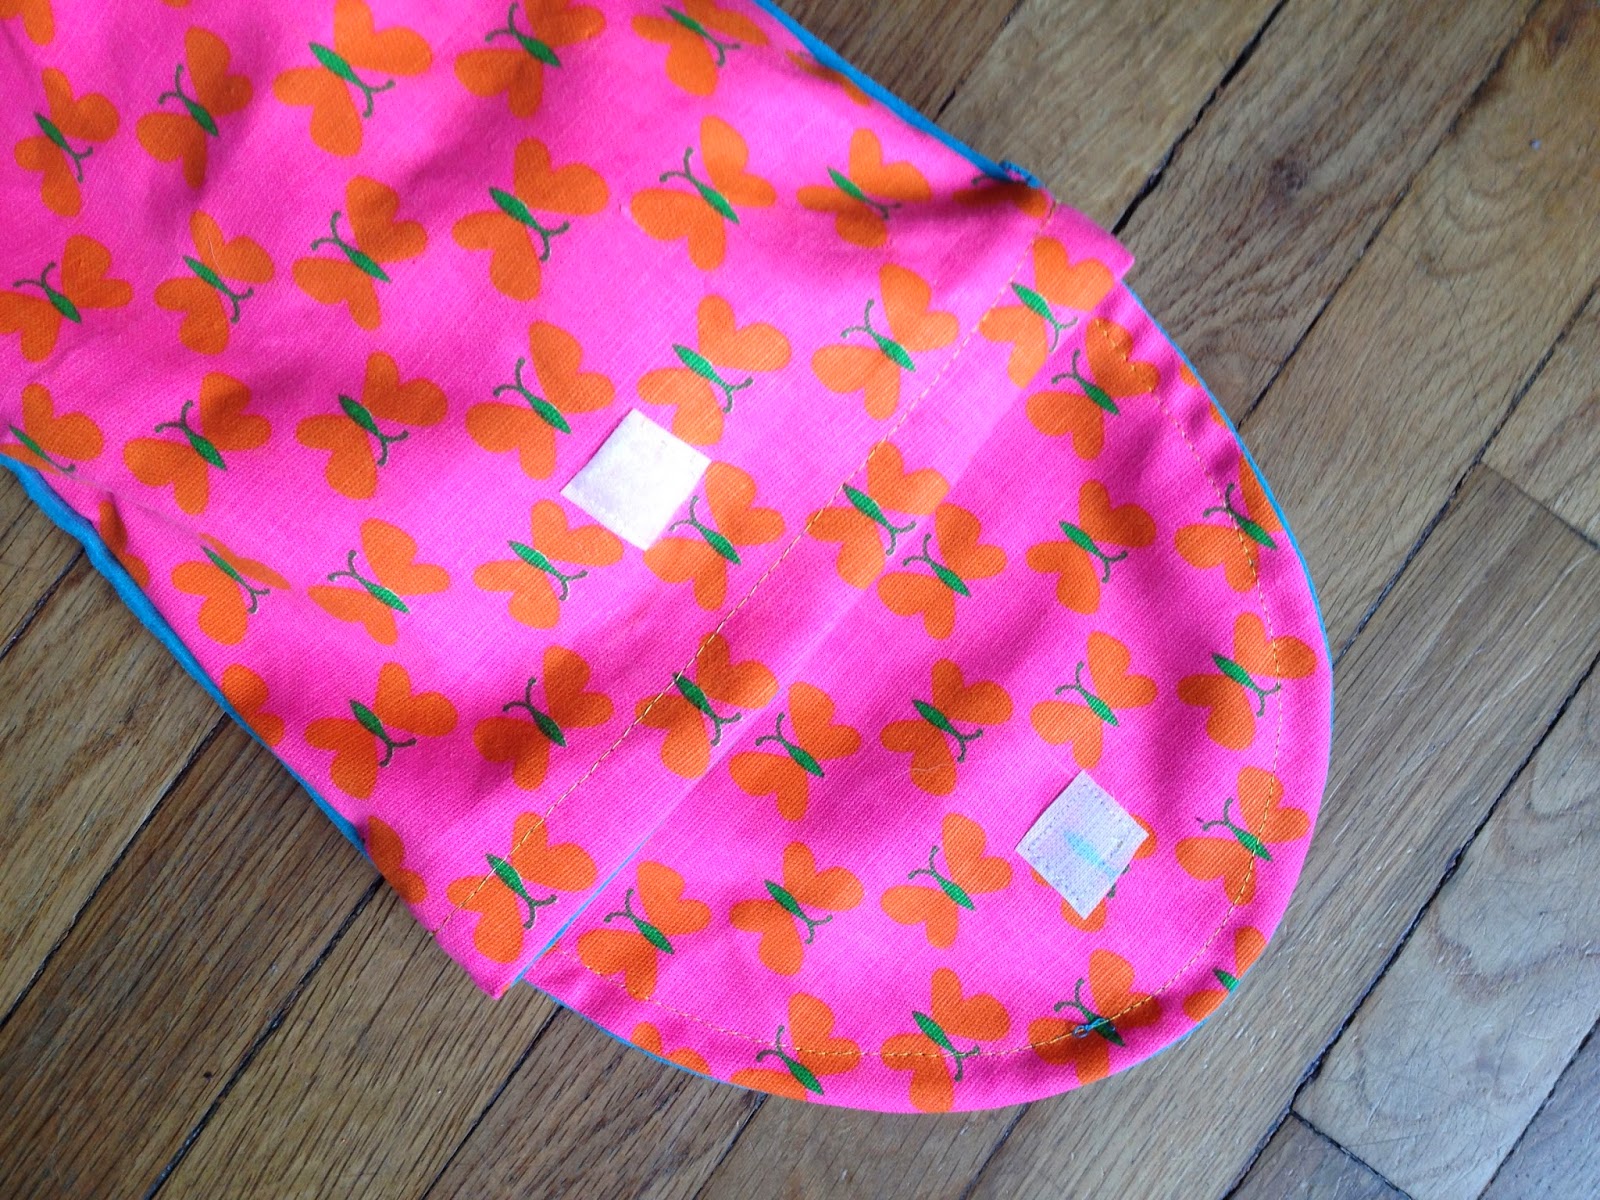
Here it is opened up.  I ended up turning the bottom two cuts inside out to help hide the stain.  The fabric looked the same on the wrong side, so it wasn't obvious.  


I re-serged the side seams so that now the seams are on the opposite side (right side of the fabric now became the wrong side).  I serged right over the seam on the right side and let it cut off the old seam.


Then I pinned the top piece to the bottom piece and sewed them together with a straight stitch.


Then added the next layer.


I ended up sewing three lines of straight stitches to each layer for durability and look.


There was some extra fabric hanging under the stitching on the front side.


I carefully trimmed it down to give it an even look all the way around on each layer under the stitching line.


Here it is all together.


I tried it on and …. I don't know.  I just wasn't loving it.
I didn't like the way it was pulling at the point in the arrow.  
It just felt sloppy and I knew if I left it like this I wouldn't wear it.
(Please excuse my messy room)


I started pushing my brain to think of something I could do to make it wearable.
I unrolled the top fold of the waist band and pulled it up to see if it could work as a dress.  It looked kinda cute!  I can't really pull off a tube top dress, though, so it needed some straps.  I had some of this great brown, weaved, cotton strap left over, so I tried that out.
Looks better.  I need something to hide my tan lines and hold up the girls, ya know.  Not as young as I use to be ;).


I had a little more fun with the brown trim to make the dress look more …. well, like a dress.  

Here is what came of the Young at Art disaster skirt turned dress:


I zig zag stitched the brown trim around the top and gave it a halter strap.
I added a zipper because the trim took away the stretch of the jersey, making it more fitted, so I couldn't just slip in it.


I could have done a better job with the zipper.  I ran out of brown trim, but I might buy a little and put a  little strap with button closure to hide the gap at the top of the zipper.  I shouldn't have left any of the slack at the top of the zipper when I sewed it in.  


Over all I feel like I saved the skirt and turned my Young at Art disaster into an art project of its own.
It's definitely a summer time dress.  I can't wait until it warms up to wear it.  I'm dying to show the other moms that were there to witness my paint snafu how I cleaned up my mess.


Thursday, April 17, 2014

Vintage Stripes

I picked up this pattern recently to use with some of my light weight, silky, vintage fabric.  I liked pattern D and figured it would look great with a belt.  Super light and easy to wear.


The pattern was a cinch, especially with the help of my serger.
Here is the pretty, vintage, stripe fabric I used and the finished dress.


I love how it came out!  It looks so dressy, I was surprised.  I figured it would have a more casual look. It definitely feels casual, which is nice.  

I have a few other fabrics that have this pattern written all over it.  
All I need now is some free time to sew.


Wednesday, April 16, 2014

Puppet Theater for the Princess

I love taking my kids to the different aquariums, either in town or when we visit other beach areas.  For some reason all of them seem to have a puppet theater area.  Aubrey always loves to play in the puppet theater area.
For … ever.
It's adorable and I oblige as much as possible, but the germaphobe in me is secretly cringing over all the gross, dirty, hundred year old, million sticky hands have touched them puppets.
I thought a good gift for her birthday would be a nice puppet theater of her own.
I used fabric I had on hand and trims I had laying around.  I only had to buy the suspension rods to make this.


The cloth I tie dyed years ago and never found a use for.  The curtains where given to me by their Grammy.  They were perfect, since most of the sewing was done on them.  I just added some lace trim and gathered them up.

I even made a little case to store it in when it's all rolled up.  I used some vintage fabrics I was given to make it.


Gotta love the funky 60's butterflies print.


We do have a few puppets, but I thought it would be fun to make an Aubrey puppet.  She got to help with this project.


Here's Puppet Aubrey!!!


And here is the real Aubrey having fun with her new (CLEAN) puppet theater!


One of the other little gifts I made her for her birthday were bean bags for juggling.  She's been really into learning to juggle for some reason.  I had all these stupid pearler beads left.  Those things were NOT a hit, but I found a great use for them!  They are the beans in the bags.  I used more of the funky 60's butterfly fabric to make them.  


It's like a circus in this house.  
Animals, juggling acts, a couple of clowns, and a crazy ring master!

Tuesday, April 15, 2014

Old Hat, New Hat

Once upon a time I had a favorite hat.


Until the sad, sad day that the snap broke in the back.


I bought a new one in blue, but I couldn't part with this one.  
I decided to see if I could resurrect it somehow.

I sketched out this little idea out and turned it into fabric appliqué.


Then stitched it onto my hat covering the old design.


To fix the back I just picked out the seam and took out the plastic snaps and added some velcro in its place.


I think it came out kinda cool!  
It's definitely a unique piece.


I have another old hat I want to try this out on, too.
I like that I can wear my fabric art pieces.
Super fun!
What do you think?