Monday, November 16, 2015

Shirt to Skirt Refashion

This is a quick and easy refashion, but it is also one of my favorite ones to do.

Here are two shirts I received as hand-me-downs from one of my neighbors.  They fit pretty good, but they were a little long.  I probably could have kept them and worn them as is, but ... well ... really, I just wanted to transform them into comfy, jersey skirts.  


I used one of my previous shirt to skirt refashions to use as a template to cut the new ones.  I know that looks like a basic, ugly skirt, but I swear it is so comfortable and has become one of my favorite lounge skirts.  Perfect to throw on after a day of surfing.


I used the existing hem line from the bottom of the shirt and cut a waist band from the top of the shirt.  I repeated the same process for the other shirt.


I had my daughter take the finished pictures, so I apologize that they are a little blurry.


I think they both came out looking really nice.


They can pass as a tad dressy, even though they are just casual jersey.  
They were great as shirts, but I just know for me they will get much more milage in their second lives as skirts.


Tuesday, November 3, 2015

Homemade Halloween

Another Halloween, another set of homemade costumes!!

I think I may have done a better job with last years creations, but I still had fun creating their character costumes this year.

Bayne wanted to be Future Trunks from Dragonball Z. 
Here is a look at his character:


Here are the materials I was working with.  A hand-me-down mens shirt and jean jacket.


I used one of Bayne's tank tops to cut out a pattern for his costumes tank top.  I didn't document any of the shirts transformation, but basically I just cut out the front and back using the tank top as a pattern guide.  I flipped the print to the inside, so it wouldn't show.  I used the existing hem line from the original shirt and just serged the sides together.  For the neck and arm holes, I used the remaining scraps from the sides to create a trim to finish the edges.


The jean jacket I cut and then hemmed the bottom of the top piece.


Then I dyed it blue!

Dye, dye, dye!!!


Then I dyed his hair purple with temporary hair color.

Dye, dye, dye!!!


Here is the finished costume:


I kept feeling like something was missing and I totally realized what it was as soon as halloween was over.  
The belt.
I forgot to make the belt.
I think that would have helped the costume out a bit.  
Either way, the character is a bit obscure and most people aren't going to know who he was anyway.  
Bayne loved it and that is all that mattered.


Aubrey wanted to be a ninja.  Not just any old ninja, but an apple ninja.  What is an apple ninja, you ask?  Well, I have no idea.
I think she decided apple ninja because her friend was going to be a banana and I think she told her she would be an apple, but she really wanted to be a ninja, so she merged the two ideas.  She tells me its because her ninja costume would be too scary, so she needed to have a cute apple on the back to make it look less scary.  
Whatever.
Even though it made no sense, I wanted to bring her idea to life, regardless.
The photo above is an idea of what I was going for, but I wanted her to have a regular karate belt.

I used this robe pattern to help form the Gi top.
I had to make a few adaptions to the pattern as I went along.


Here is the finished product:


I got the sword, nunchucks, and mask at the $1 store.  I had both fabrics laying around in my stash, so that didn't cost a dime.  I kinda winged my way through the hood using one of the hoods from her jackets as a template.
Doesn't she look intense?!?!


But wait ... then she turns around and there is a cute little apple whose happy to see you :)
I made that with felt I had lying in my stash.  I figure it is like the bonsai tree on the back of the Karate Kids Gi.  It's her little symbol.
She seemed pleased with the outcome.

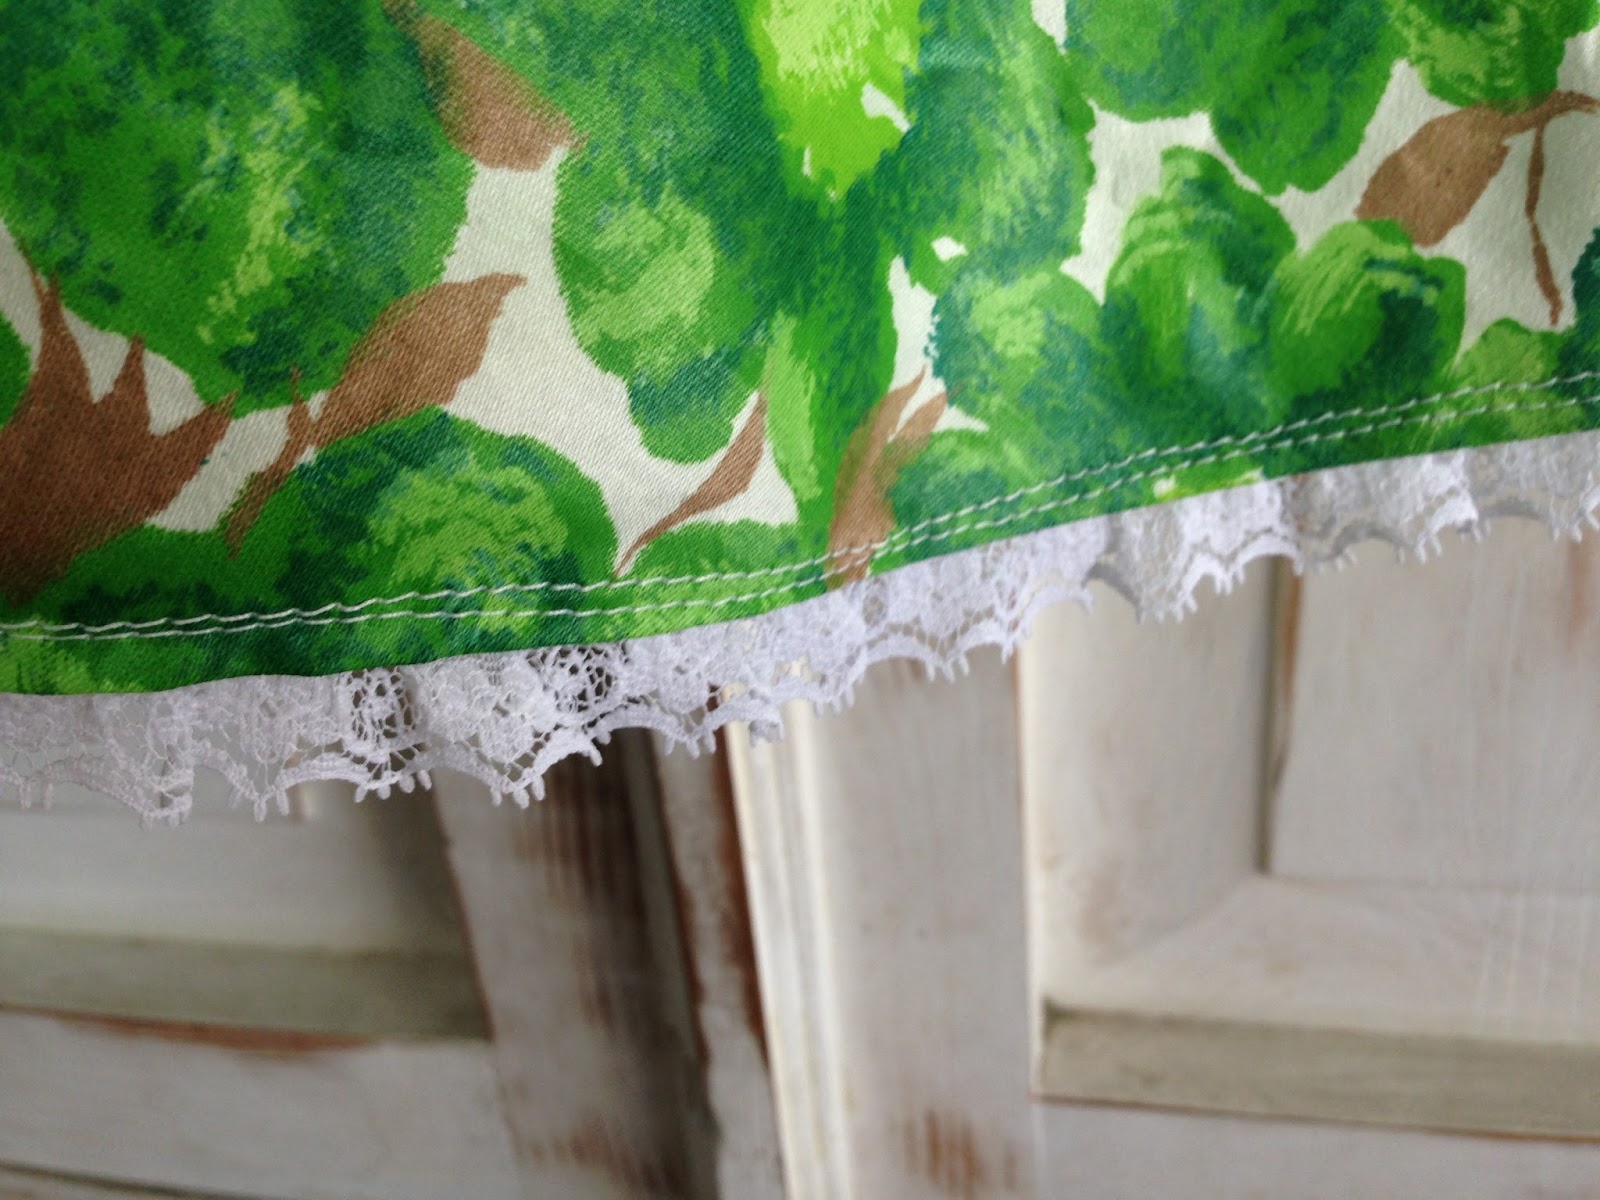
For myself, I decided to break away from my devil or witch costumes that I rotate through each year for many years now.  I found some leopard ears, tail, and bow tie at the $1 store and decided to grab those, since I knew I had some left over leopard fabric at home.

I used pattern B to make the skirt.  I adapted it a little by placing the zipper in the back instead of the side.  For the life of me, I cannot remember why I decided to do that.  Maybe I was limited by the amount of fabric I had?  I have no idea.  Luckily it worked out, but I think I will be keeping my zippers on the side from here on out.  


After finishing the skirt, I decided it needed to have a crop top black shirt to go with the high waisted skirt.  As if I didn't have enough to do ... but when I get a vision, there is no stopping me from trying to bring it to fruition.

I had taken a before picture of the shirt, but I cannot find it anywhere.  I must have deleted it by accident.  Basically it was a XL mens black shirt.

As you can see, I cut off the sleeves, opened up the sides, and cut a bunch off the bottom.


Then I pinned it inside out to the dress form to get a good fit.


I used the original sleeves to make the new sleeves, but cutting them down and sewing them back together.


I pinned the sleeves to the arm holes pulling up all the slack as I went and serged them on.


Then finished the bottom hem.

Here is a look at the finished pieces:


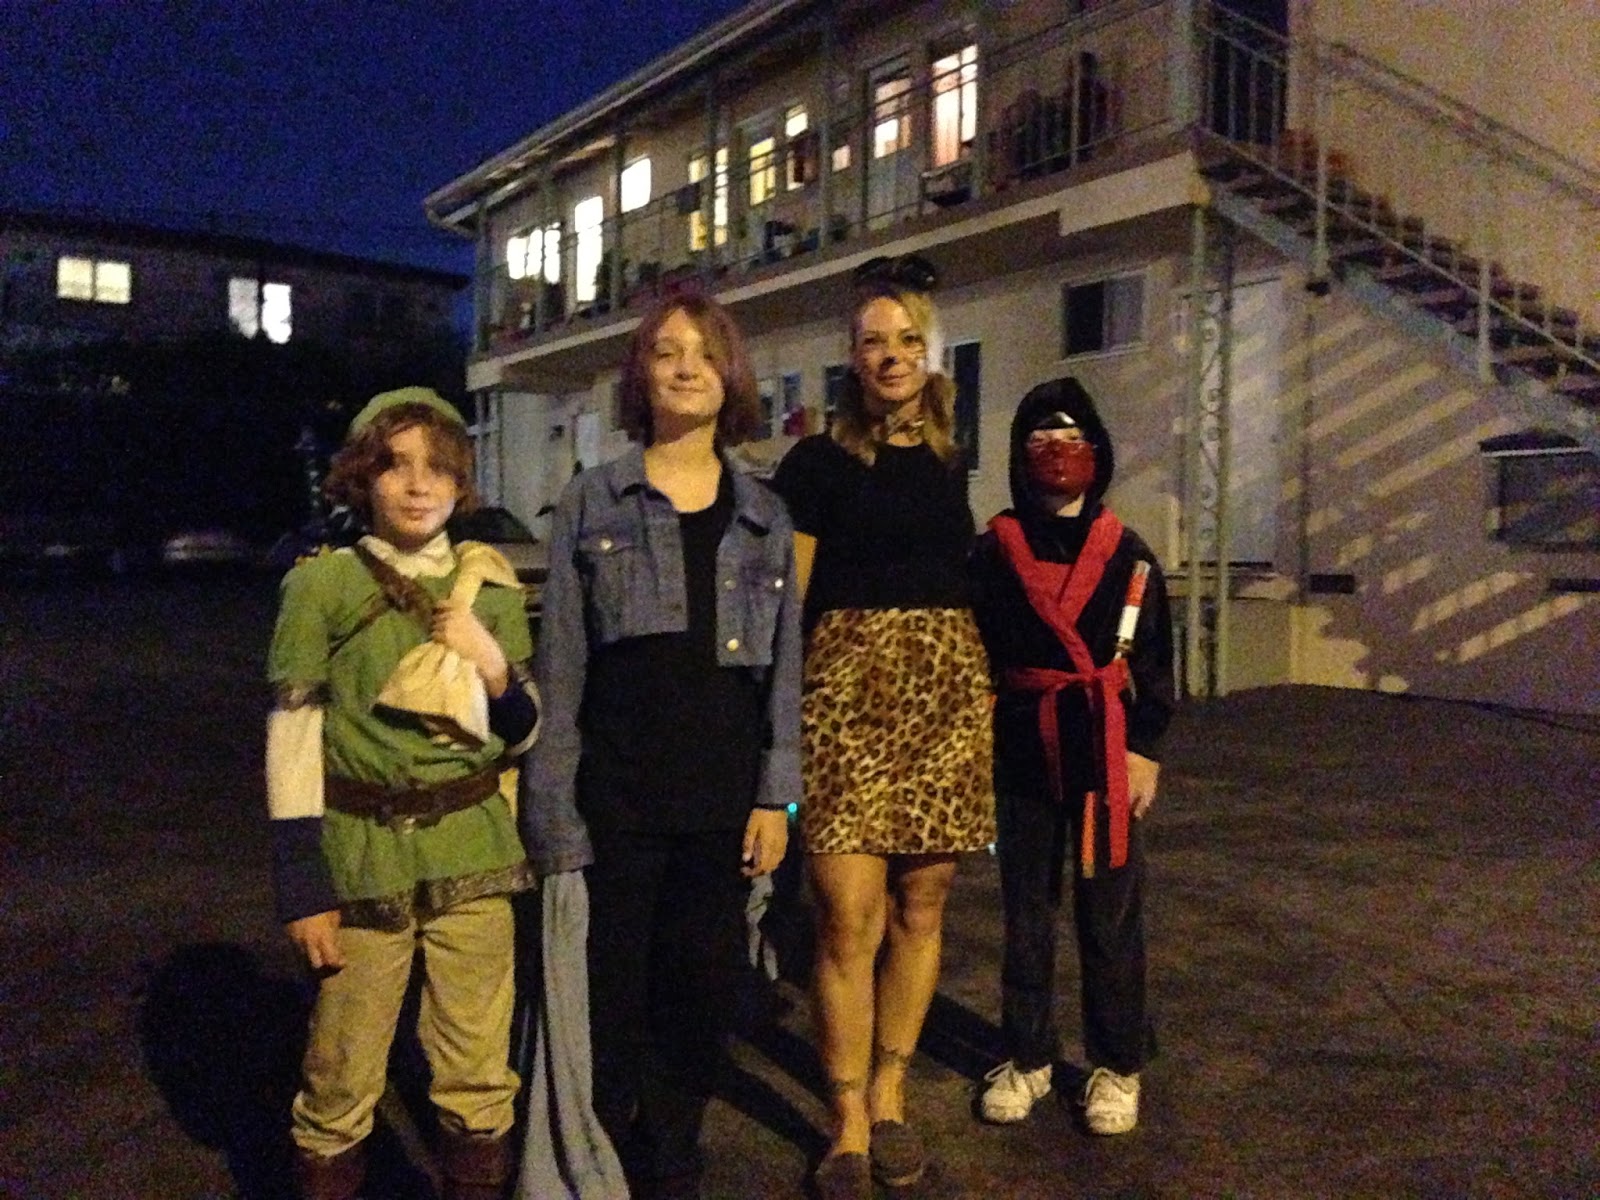
Here we are all dressed up and ready for the schools Halloween Parade!!
A nice little practice run before the big day.


Finally, the big day arrived and we were ready for showtime.  What a motley crew we make!


All and all I think the costumes came together pretty well.  The boys had a great time trick or treating.  Aubrey did for a little bit, but her tummy was bothering her, so she gave up on knocking on doors pretty early on.  It seems like one of my kids is always sick on Halloween.  Not even a ninja can fight off an illness, I guess.

I hope you all had a wonderful time this Halloween, too!


Thursday, October 15, 2015

Quick Refashion - Long Sleeve to Short Sleeve Shirt

My mother-in-law picked up this cute little number at a thrift store for me.  
I liked it enough that I didn't want to transform it completely, but I really didn't like how it looked on at all.


I decided to start with a simple alteration and see if it made me feel any differently about the way the shirt looked on.  The arm had one of those weird roll up 3/4 sleeves with the little strip of fabric that holds it all up and buttons to the outside of the sleeve.  It definitely had to go.  I took that off and turned it into a short sleeve.


That made all the difference in the world.  I love the way it looks on now.  Sometimes the simplest alterations are all that are needed to make a piece work for you.  


Tuesday, October 13, 2015

Old Shirt, New Style

This is just a simple refashion.  Probably not even worth posting, but I am anyway :)

This is another shirt from my friends daughters goodwill pile.
I am not a fan of shirts that are longer in the back and shorter in the front, but I loved the print.  It is a nice stretch, sweater like fabric, too.

So I just chopped it, ran the bottom through the serger, and then hemmed it.

Now I have a cute half top! 
Being the beach bum, bikini wearing, daily surfer that I am, I am a sucker for a good half top.


Perfect for all the hot weather we have been having.

This heat wave is killing me.  It's all I can do to get dressed everyday.  My neighbor and I keep joking about setting up kiddie pools in our living rooms.  

It's that bad!

Stay cool everyone.  
Fall will be here eventually.


Thursday, October 8, 2015

Little One Love Dress

My kids and I walk to school every day.
  
Unfortunately, we have to cross a very busy street each morning.  We have had several crossing guards over the last 6 years.  

There was the old guy that smelled like alcohol at 7:30am.  

There was the old guy that was as slow as a snail.  I worried more about him getting hit by a car, then the kids.  

We had a little lady who barely spoke english for a few months.  

Plus a lot of random fill in guards.  

For some reason our street doesn't get consistent help unlike the other cross walks closer to the school.  

Sometime last year we got another guy.  

His name is Brandon.  He is a big guy.  He looks like he would take out a semi-truck for any one of the kids or parents who crosses that busy street each morning.  He is always there on time with a smile on his face, a greeting, and a kind word.  I can tell he is one of my people.  I just like the dude, straight up.  He is 41.  He has an older boy, 17, I believe, but he just had a brand new baby girl.  You have never seen a more proud papa bear.  Bear should be his nickname, because that is what he reminds me of.  A big old cuddly bear (that could probably rip your head off if you mess with his clan).

I wanted to do something special for him.  A little handmade baby gift for his girl.  
Here is what I came up with for her.  


I used materials I had on hand.  The bottom yellow and green floral fabric is vintage.

I was going for an irie/rasta vibe.


The dress is fully lined.  I used a bright yellow lining for the skirt and plain red cotton for the top.


I added some lace to the straps and the hem.


Honestly, I think I would wear this if it were my size!


I just love how it came out!!

I keep thinking, "Man, I could sell these things!"

I know I could, but when I add up all the time it takes to make it, not even including the materials, it just doesn't add up to something that would be profitable.  

It bums me out.  

I want so bad to be able to use this talent to make a little extra money.  This, from start to finish, took me probably at least 6 hours, if not more (probably more!!).  If I want to make at least $10/hr, which is the minimum wage here in CA, I would have to sell this for $60.  Plus, I haven't even figured in materials!  Ugh!  

It is such a shame that we have become so far removed from the process of making a garment from scratch.  We go into department stores and buy clothes, some that take much more time to make than this dress, and we pay $30 or less.  Somewhere, in another country, people are sewing these clothes.  These people are working hard and being paid next to nothing.  I know, because I have been one of those people.  Basically every bag in my etsy shop I have made for $2/hour at best, since I had to pay for all of the materials I used.  

It's unfortunate more value isn't placed on this craft and the idea of having something that is one of a kind.  
I would love to be able to share my designs with the world.

For now, my kids and I, (and a few lucky friends and family) get to reap the benefits of having cool, unique, handmade clothes and bags.  
Lucky us!!


Thursday, October 1, 2015

Old Dress, New Skirt

This is another dress from my friends daughters goodwill pile.
This is such a cute dress ... but NOT on me! lol


I am completely in love with the print!!!  Look at these adorable little seagulls!


I originally tried to work with the existing gather and just add an elastic band to make a skirt, but that was a total bust.  

I decided to completely direct the skirt and ended up with a ton of fabric to work with.


I kept it real simple.  I cut two panels that were a few inches larger than my hips on each side.  Sewed the panels together.  I created a casing on the top for the elastic and hemmed the bottom.


Viola!  Super simple, easy skirt with adorable seagulls!  
Yay!

Wednesday, September 16, 2015

Old Tank, New Dress

My friends daughter recently gave me a bunch of old clothes to dig through before they went off to goodwill.  I found some good scores in the pile.

For example, this little, bleach stained tank top may have otherwise been trash, even at the goodwill.


I forgot to take a picture before I cut it, but you get the idea.  You can see some of the bleach stains on the bottom right corner.  There were more on the back.

I have made this type of maxi dress a few times before.  It is a definite go to pattern when I have an old tank top in need of a new life.  You can see some other examples of how I have done this in the past here,  

I found the original tutorial here.

It's very simple.  I like to use a little less fabric than she does in her tutorial.  A few inches more than my hip width, so there isn't so much gathering and then not as much need for the belt.  For a short maxi, she recommends folding the fabric to make a bubble type skirt, but I do not do that.  I just use one piece of fabric and hem the bottom as she does for the long maxi.  The less bulk around the middle, the better.

I used a really nice piece of vintage floral fabric.  It was just the right size.  
Here is how it came out.  


I made a little matching belt for it, too, but I like it better without it.


Using less fabric for the circumference created a much nicer gather.  I think I will be making them this way for now on.  It still goes on easy.  There is just enough stretch to pull it on and off without any issues.  

I highly recommend using this method to breath new life into old tank tops.  
I always get lots of compliments on these dresses everywhere I go.

Tuesday, August 4, 2015

Gifts for Little People

I have been busy making lots of little things for lots of peoples little ones!  It's fun, since mine are big now and are rather picky about what they will wear.

I made this cute outfit for a friends 1 year old daughter:


Oh my God, isn't she the cutest thing!!!


My daughters teacher was pregnant, so for the end of school gift we made her a blanket.  We made our own print using foam stickers, an old piece of glass, and screen printing ink.  We used dinosaurs because in second grade they do a dinosaur report.  We chose blue and yellow because those are our school colors.  


Finished piece:


We also made her these cool sensory blocks for her baby when the class threw a surprise baby shower.


One of my friends recently had a baby, so I made him a cool patchwork quilt he can use to change the baby on.  This is made with my childrens old jeans that I cut up and vintage cowboy fabric.


I made him some sensory cubes, too.


It's so fun to make things for little people. 

I hope everyone enjoys their little handmade gifts!