Thursday, October 15, 2015

Quick Refashion - Long Sleeve to Short Sleeve Shirt

My mother-in-law picked up this cute little number at a thrift store for me.  
I liked it enough that I didn't want to transform it completely, but I really didn't like how it looked on at all.


I decided to start with a simple alteration and see if it made me feel any differently about the way the shirt looked on.  The arm had one of those weird roll up 3/4 sleeves with the little strip of fabric that holds it all up and buttons to the outside of the sleeve.  It definitely had to go.  I took that off and turned it into a short sleeve.


That made all the difference in the world.  I love the way it looks on now.  Sometimes the simplest alterations are all that are needed to make a piece work for you.  


Tuesday, October 13, 2015

Old Shirt, New Style

This is just a simple refashion.  Probably not even worth posting, but I am anyway :)

This is another shirt from my friends daughters goodwill pile.
I am not a fan of shirts that are longer in the back and shorter in the front, but I loved the print.  It is a nice stretch, sweater like fabric, too.

So I just chopped it, ran the bottom through the serger, and then hemmed it.

Now I have a cute half top! 
Being the beach bum, bikini wearing, daily surfer that I am, I am a sucker for a good half top.


Perfect for all the hot weather we have been having.

This heat wave is killing me.  It's all I can do to get dressed everyday.  My neighbor and I keep joking about setting up kiddie pools in our living rooms.  

It's that bad!

Stay cool everyone.  
Fall will be here eventually.


Thursday, October 8, 2015

Little One Love Dress

My kids and I walk to school every day.
  
Unfortunately, we have to cross a very busy street each morning.  We have had several crossing guards over the last 6 years.  

There was the old guy that smelled like alcohol at 7:30am.  

There was the old guy that was as slow as a snail.  I worried more about him getting hit by a car, then the kids.  

We had a little lady who barely spoke english for a few months.  

Plus a lot of random fill in guards.  

For some reason our street doesn't get consistent help unlike the other cross walks closer to the school.  

Sometime last year we got another guy.  

His name is Brandon.  He is a big guy.  He looks like he would take out a semi-truck for any one of the kids or parents who crosses that busy street each morning.  He is always there on time with a smile on his face, a greeting, and a kind word.  I can tell he is one of my people.  I just like the dude, straight up.  He is 41.  He has an older boy, 17, I believe, but he just had a brand new baby girl.  You have never seen a more proud papa bear.  Bear should be his nickname, because that is what he reminds me of.  A big old cuddly bear (that could probably rip your head off if you mess with his clan).

I wanted to do something special for him.  A little handmade baby gift for his girl.  
Here is what I came up with for her.  


I used materials I had on hand.  The bottom yellow and green floral fabric is vintage.

I was going for an irie/rasta vibe.


The dress is fully lined.  I used a bright yellow lining for the skirt and plain red cotton for the top.


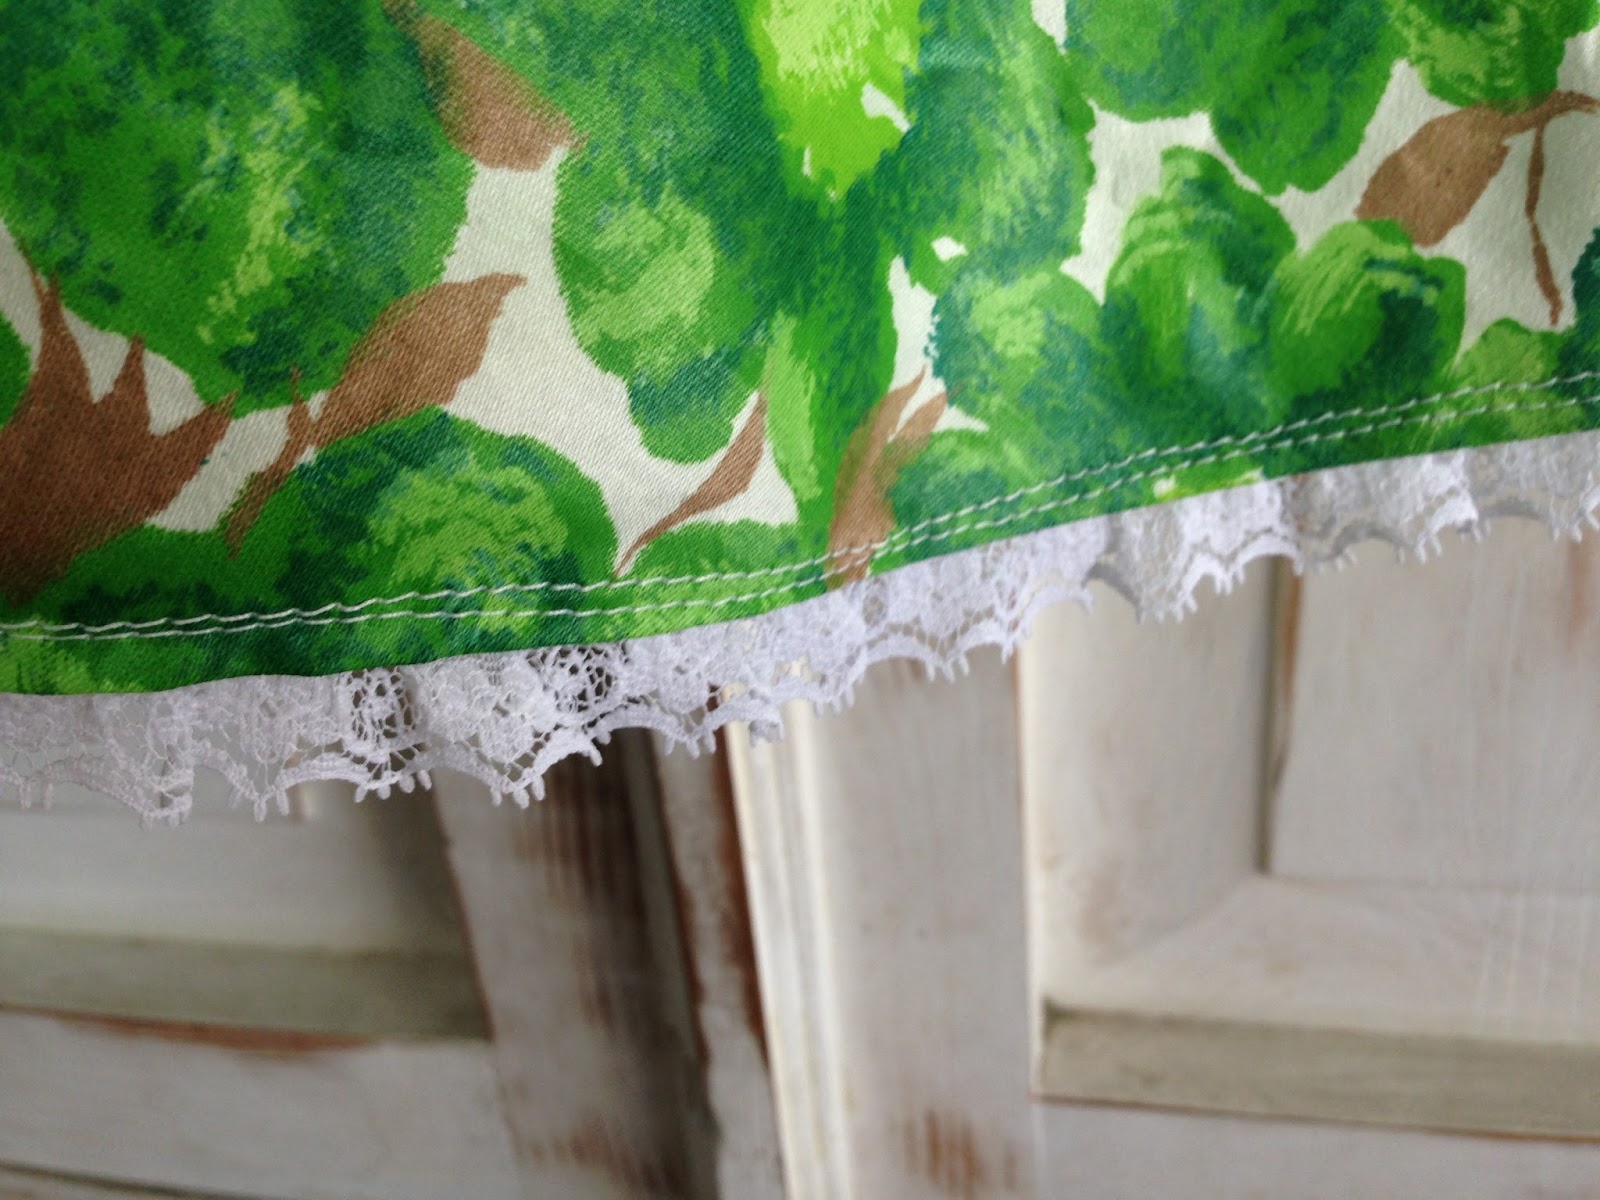
I added some lace to the straps and the hem.


Honestly, I think I would wear this if it were my size!


I just love how it came out!!

I keep thinking, "Man, I could sell these things!"

I know I could, but when I add up all the time it takes to make it, not even including the materials, it just doesn't add up to something that would be profitable.  

It bums me out.  

I want so bad to be able to use this talent to make a little extra money.  This, from start to finish, took me probably at least 6 hours, if not more (probably more!!).  If I want to make at least $10/hr, which is the minimum wage here in CA, I would have to sell this for $60.  Plus, I haven't even figured in materials!  Ugh!  

It is such a shame that we have become so far removed from the process of making a garment from scratch.  We go into department stores and buy clothes, some that take much more time to make than this dress, and we pay $30 or less.  Somewhere, in another country, people are sewing these clothes.  These people are working hard and being paid next to nothing.  I know, because I have been one of those people.  Basically every bag in my etsy shop I have made for $2/hour at best, since I had to pay for all of the materials I used.  

It's unfortunate more value isn't placed on this craft and the idea of having something that is one of a kind.  
I would love to be able to share my designs with the world.

For now, my kids and I, (and a few lucky friends and family) get to reap the benefits of having cool, unique, handmade clothes and bags.  
Lucky us!!


Thursday, October 1, 2015

Old Dress, New Skirt

This is another dress from my friends daughters goodwill pile.
This is such a cute dress ... but NOT on me! lol


I am completely in love with the print!!!  Look at these adorable little seagulls!


I originally tried to work with the existing gather and just add an elastic band to make a skirt, but that was a total bust.  

I decided to completely direct the skirt and ended up with a ton of fabric to work with.


I kept it real simple.  I cut two panels that were a few inches larger than my hips on each side.  Sewed the panels together.  I created a casing on the top for the elastic and hemmed the bottom.


Viola!  Super simple, easy skirt with adorable seagulls!  
Yay!

Wednesday, September 16, 2015

Old Tank, New Dress

My friends daughter recently gave me a bunch of old clothes to dig through before they went off to goodwill.  I found some good scores in the pile.

For example, this little, bleach stained tank top may have otherwise been trash, even at the goodwill.


I forgot to take a picture before I cut it, but you get the idea.  You can see some of the bleach stains on the bottom right corner.  There were more on the back.

I have made this type of maxi dress a few times before.  It is a definite go to pattern when I have an old tank top in need of a new life.  You can see some other examples of how I have done this in the past here,  

I found the original tutorial here.

It's very simple.  I like to use a little less fabric than she does in her tutorial.  A few inches more than my hip width, so there isn't so much gathering and then not as much need for the belt.  For a short maxi, she recommends folding the fabric to make a bubble type skirt, but I do not do that.  I just use one piece of fabric and hem the bottom as she does for the long maxi.  The less bulk around the middle, the better.

I used a really nice piece of vintage floral fabric.  It was just the right size.  
Here is how it came out.  


I made a little matching belt for it, too, but I like it better without it.


Using less fabric for the circumference created a much nicer gather.  I think I will be making them this way for now on.  It still goes on easy.  There is just enough stretch to pull it on and off without any issues.  

I highly recommend using this method to breath new life into old tank tops.  
I always get lots of compliments on these dresses everywhere I go.

Tuesday, August 4, 2015

Gifts for Little People

I have been busy making lots of little things for lots of peoples little ones!  It's fun, since mine are big now and are rather picky about what they will wear.

I made this cute outfit for a friends 1 year old daughter:


Oh my God, isn't she the cutest thing!!!


My daughters teacher was pregnant, so for the end of school gift we made her a blanket.  We made our own print using foam stickers, an old piece of glass, and screen printing ink.  We used dinosaurs because in second grade they do a dinosaur report.  We chose blue and yellow because those are our school colors.  


Finished piece:


We also made her these cool sensory blocks for her baby when the class threw a surprise baby shower.


One of my friends recently had a baby, so I made him a cool patchwork quilt he can use to change the baby on.  This is made with my childrens old jeans that I cut up and vintage cowboy fabric.


I made him some sensory cubes, too.


It's so fun to make things for little people. 

I hope everyone enjoys their little handmade gifts!


Big Boy Bedroom for Bayne

For my son's 10th birthday (in December), I decided he needed his own room.  Previously, he was sharing it with his little sister.  

These are some very old picture of the room when we first moved in.  We got rid of these beds and moved them into bunk beds shortly after.  I painted the room as gender neutral as possible, while still making it fun and playful.  They had a big sun in the center of the room, some clouds, and even a rainbow.


But my big boy is growing into a man and he needed his own man cave, so let the painting begin.


My little helper :)


My son chose red and a dark brown for his color theme.


Their dad found this perfect frame.  I wanted a chalkboard wall for his room, so I pained to wall with chalk board paint and hung the frame around it.


I got him a bunch of cool gaming posters because he wanted a gaming theme in his room.  I also made him a cool checker board quilt to match the theme and colors.


And for his birthday his dad got him his very own computer.  I clearly failed to get a picture of the wall that is brown and the computer in front of it, but it's there ;).

Quite a big transformation. 
And he loves it!
And I love him <3